
Introduction to Dropdown Lists in Excel
Are you tired of constantly typing the same information in Excel? Worry no more! Creating a dropdown list is like having a magical wand at your fingertips. You can easily generate a list of options that keep your spreadsheet neat and tidy, making data entry a breeze. Let’s get started!
Step-by-Step Guide to Creating Your Dropdown List
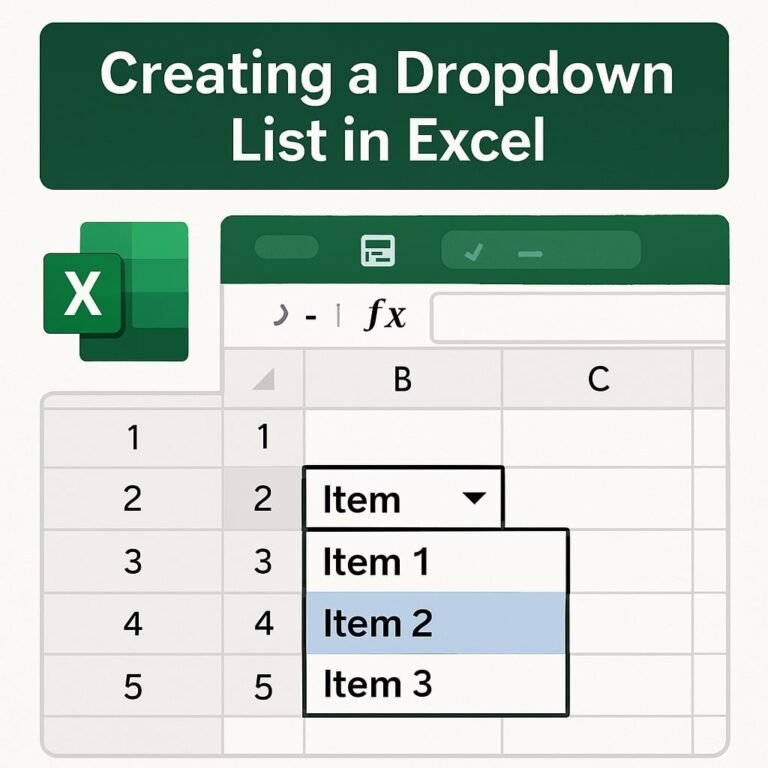
First, open Excel and select the cell where you’d like your dropdown list to appear. Sounds simple, right? Now go to the ‘Data’ tab on the toolbar. Select ‘Data Validation’ from the options you see. Once the Data Validation dialog box pops up, choose ‘List’ from the ‘Allow’ dropdown menu. Here comes the fun part: you can either type your list of items separated by commas or select a range of cells containing your data. Easy-peasy!
Finishing Touches and Tips
After hitting ‘OK’, your dropdown list is ready to go! But wait, there’s more! You can also customize the message that appears when you select the cell. Heading back to the Data Validation dialog, click on the ‘Input Message’ tab to give your users a little hint about what to do. Now, your dropdown list isn’t just functional; it’s user-friendly, too! So go ahead, give your Excel spreadsheets some personality with dropdown lists and say goodbye to tedious typing!